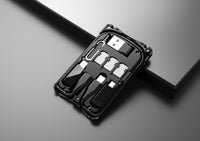
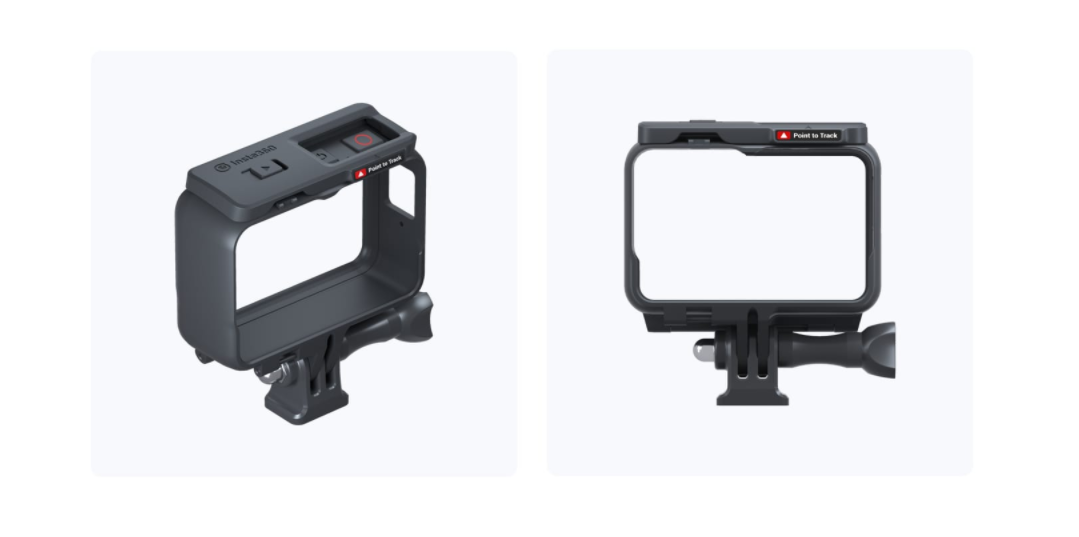
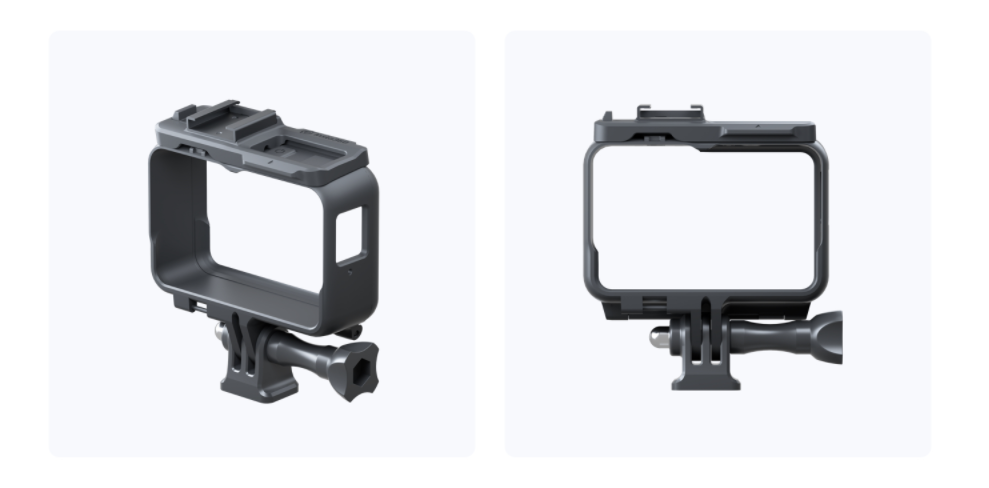
Insta360 Mounting Bracket -A protective border set for ONE R sports camera (cold boots protection border / ordinary protection border)
- Product SKU: ITA-R-SMT
- Category: Insta360 camera and accessories, Motion camera, Shooting equipment

Insta360 ONE R protective border Mounting Bracket (Accessory Shoe Mountain Bracket and Standard Mountain Bracket)
Ordinary protection border
Original genuine goods

Cold boots protection border

Instructions:Ordinary protection border
1. Open the protective border
While pushing to the right to lock the protective box (1), the lock buckle is performed along the direction of the lock buckle (2), and then remove the hook (3) from the hook (3). When the lock is completely unlocked, open the outer frame (4)

2. Put in the camera
When putting in the camera, please pay attention to the correct correspondence of the position of the keys (the yuan takes the 4K wide -angle lens as an example)

*1 When combining the time -sensitive component, make sure its lens protection mirror has been removed. After the protective border is installed, please reinstall the lens protection lens to the 1 -inch photosensitive component module.
3. Close the protection border
Turn off the protective border, lock the lock with the lock, and then press the lock to the lock until it emits the sound (the picture takes the 4K wide -angle lens as an example)

4. Install the transit base
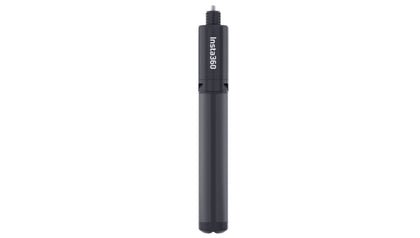
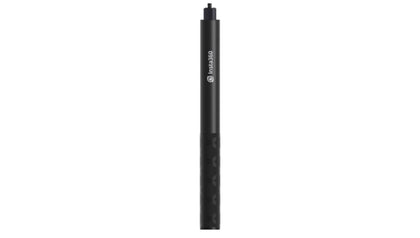
When shooting with a panoramic lens, if you need to hide the selfie rod, select 1/6 screw rotor to adapt to the invisible self -timer rod.

Instructions:Cold boots protection border
1. Open the protective border
While pushing to the right to lock the protective box (1), the lock buckle is performed along the direction of the lock buckle (2), and then remove the hook (3) from the hook (3). When the lock is completely unlocked, open the outer frame (4)
2. Put in the camera
When putting in the camera, please pay attention to the correct correspondence of the position of the keys (the yuan takes the 4K wide -angle lens as an example)
*Note: When the camera is placed is Leica lens, make sure the lens protective lens of the Leica lens has been removed. After the protective border is installed, please reinstall the lens protection lens to Leica lens.
3. Close the protection border
Turn off the protective border, lock the lock with the lock, and then press the lock to the lock until it emits the sound (the picture takes the 4K wide -angle lens as an example)
4. External equipment
Through the cold boot base at the top of the frame of ONE R cold boots, microphone or light lamps can be connected to the equipment head.

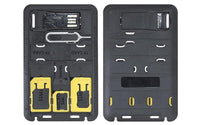
Insta360 ONE R protective border Mounting Bracket (Accessory Shoe Mountain Bracket and Standard Mountain Bracket)
Ordinary protection border
Original genuine goods
Cold boots protection border
The top of the protective border is equipped with cold boots, which can be used to fix the external microphone or fill light
*The picture is only displayed. The microphone transiter, the external microphone needs to be purchased separately.
Instructions:Ordinary protection border
1. Open the protective border
While pushing to the right to lock the protective box (1), the lock buckle is performed along the direction of the lock buckle (2), and then remove the hook (3) from the hook (3). When the lock is completely unlocked, open the outer frame (4)
2. Put in the camera
When putting in the camera, please pay attention to the correct correspondence of the position of the keys (the yuan takes the 4K wide -angle lens as an example)
*1 When combining the time -sensitive component, make sure its lens protection mirror has been removed. After the protective border is installed, please reinstall the lens protection lens to the 1 -inch photosensitive component module.
3. Close the protection border
Turn off the protective border, lock the lock with the lock, and then press the lock to the lock until it emits the sound (the picture takes the 4K wide -angle lens as an example)
4. Install the transit base
When shooting with a panoramic lens, if you need to hide the selfie rod, select 1/6 screw rotor to adapt to the invisible self -timer rod.
Instructions:Cold boots protection border
1. Open the protective border
While pushing to the right to lock the protective box (1), the lock buckle is performed along the direction of the lock buckle (2), and then remove the hook (3) from the hook (3). When the lock is completely unlocked, open the outer frame (4)
2. Put in the camera
When putting in the camera, please pay attention to the correct correspondence of the position of the keys (the yuan takes the 4K wide -angle lens as an example)
*Note: When the camera is placed is Leica lens, make sure the lens protective lens of the Leica lens has been removed. After the protective border is installed, please reinstall the lens protection lens to Leica lens.
3. Close the protection border
Turn off the protective border, lock the lock with the lock, and then press the lock to the lock until it emits the sound (the picture takes the 4K wide -angle lens as an example)
4. External equipment
Through the cold boot base at the top of the frame of ONE R cold boots, microphone or light lamps can be connected to the equipment head.